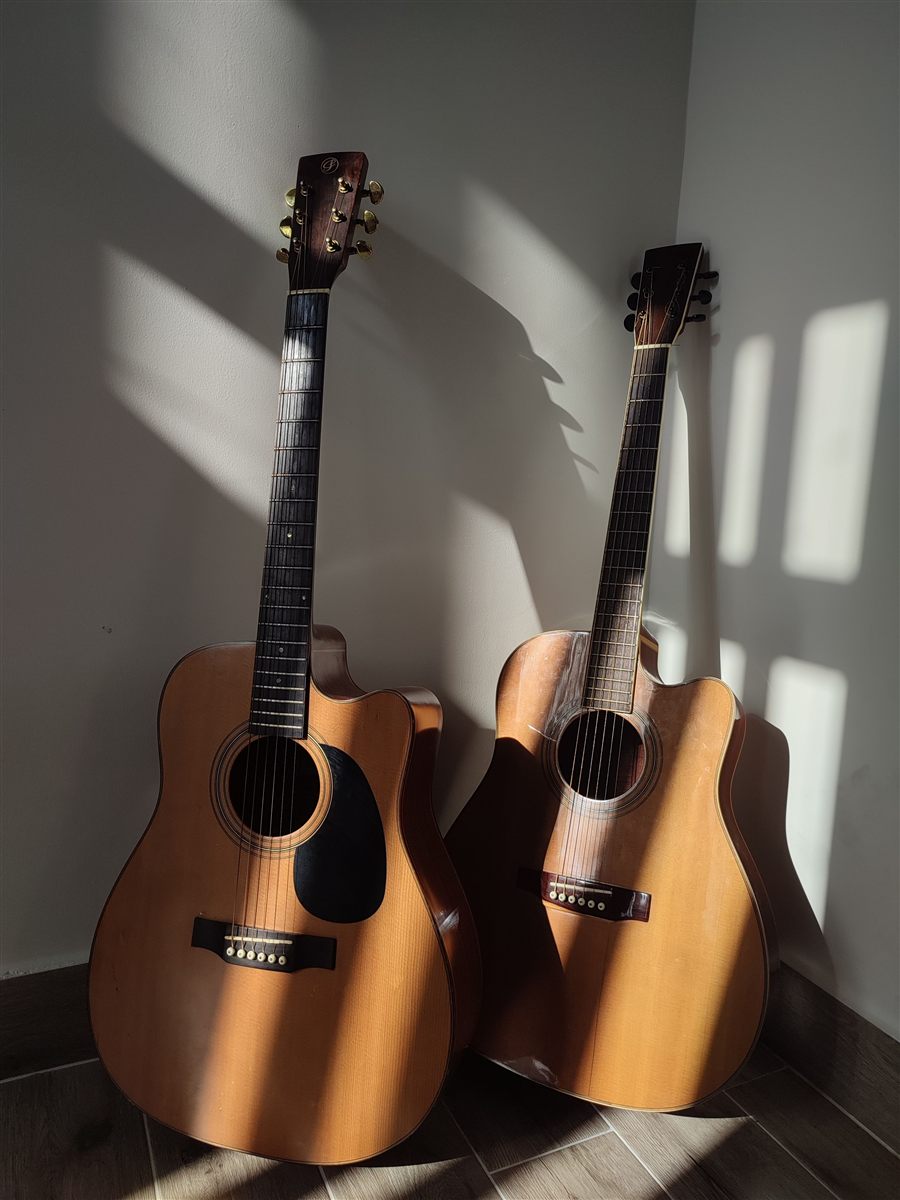
An acoustic guitar that is hard to fret or buzzes usually has a setup problem, not structural damage. Action, neck relief, nut and saddle are all adjustable, typically for a modest setup fee. The expensive cases are a neck that has lost its angle to the body (a neck reset) or a bridge that is pulling off the top. This guide shows how to assess a guitar, what the numbers mean, and in which order to diagnose. With some care you can check relief, action and nut yourself and adjust them in small steps; structural questions such as the neck angle belong in a workshop.
The terms in brief
- Action: the gap between string and fret tops, normally measured at the 12th fret, separately for the low E and the high e.
- Relief: the small, intended forward bow of the neck toward the strings. A perfectly flat neck lets vibrating strings slap the frets; too much bow makes the guitar stiff in the middle of the neck.
- Truss rod: an adjustable steel rod inside the neck that resists string pull. It changes relief, not the saddle height directly.
- Nut and saddle: the two string end points. Their heights decide how high the string sits at the first fret and at the 12th fret.
- Intonation: whether fretted notes agree with the open string along the whole fingerboard. It depends on the vibrating string length, which is set by the saddle position.
Checking and adjusting relief and action
Relief
How to measure relief:
- Tune the guitar to pitch; string tension determines relief.
- Put a capo on the 1st fret and press the low E string down where the neck meets the body (usually the 14th fret). The string is now a straight reference line over the frets.
- Slide a feeler gauge between string and fret at about the 7th or 8th fret. The thickest blade that still slips through with slight resistance is your relief value.
- Without a feeler gauge, a close look is enough: a small but visible gap, on the order of a thin string, should remain. A much bigger gap means a lot of relief; no gap means a flat or back-bowed neck.
The figures found online differ, which tells you there is no single right number. As a rough orientation for judging a guitar, most sources give a window of roughly 0.2 to 0.3 mm, with dreadnoughts on heavier strings toward the upper end and small bodies toward the lower end. Heavier strings and hard strumming tend to want a little more relief, light fingerstyle a little less. They are orientation values: the right value depends on the guitar, the strings and the player. Approach from the safe side rather than going straight for the smallest figure.
Action
Action is measured at the 12th fret from the top of the fret to the underside of the string, with a fine steel rule or a string action gauge. The figures vary: for a well-set-up steel-string, roughly 2.0 to 2.8 mm on the low E and 1.6 to 2.2 mm on the high e are common orientation values. Fingerstyle players tend toward the lower end, hard strummers toward the higher end. Some beginner guides measure at the 9th fret instead and name a limit of about 3 mm there; that is a different measuring point and not directly comparable.
More than about 3 mm on the low E at the 12th fret is clearly high for a steel-string. The lower the action, the cleaner frets and relief must be, otherwise the guitar buzzes under a firm attack.
Adjusting the action
If action is too high although relief is right, it is corrected at the saddle. Rule of thumb: taking 1 mm off the underside of the saddle lowers the action at the 12th fret by about half a millimeter. To go 1 mm lower, remove roughly 2 mm. Here is how:
- Measure the action at the 12th fret and decide how much it should drop.
- Slacken the strings, take the saddle out and sand its underside on fine sandpaper lying flat on a level surface. Keep the saddle upright and square so the underside stays flat and at a right angle; it must sit fully in the slot afterwards.
- Remove too little rather than too much, refit the saddle, retune and measure again. Repeat in small steps.
Removed material does not come back, and too little break angle over the saddle costs tone and drive. If you are unsure, have the workshop prepare a taller replacement and work your way down slowly. For material and shape see bridge and saddle.
The truss rod: function, direction, caution
The truss rod counteracts string pull and thereby changes relief: clockwise (tightening) straightens the neck and reduces relief, counterclockwise (loosening) allows more bow. On acoustics the adjuster sits either in the soundhole or under a cover on the headstock. The right wrench size depends on the model; 4 or 5 mm are common sizes. Use a wrench that fits exactly.
- Bring the strings to pitch and measure relief as described above.
- Turn no more than an eighth to a quarter turn at a time, in the direction that moves relief toward the desired range.
- Retune and wait about 15 to 30 minutes before measuring again, because wood reacts slowly.
- Repeat in small steps, but no more than three or four steps per session. Measure once more the next day.
- If you meet resistance, hear cracking or the rod has no travel left, stop immediately and get help from a workshop.
Over-adjusting risks a stripped nut, a damaged rod or damaged wood, so stay with small steps and give the neck time. Bigger truss rod jobs belong with an authorized service center or workshop; if you are unsure, the workshop is the right place.
Adjustable rods are not universal: very old guitars may have none, and nylon-string classical guitars generally have no adjustable rod. Many newer guitars have dual-action rods that work in both directions and are said to be more stable in changing climate.
For buyers: a rod that is frozen, stripped or already maxed out is one of the common reasons for walking away from a used guitar.
What moves relief: strings, tuning, humidity, shipping
- String gauge: heavier sets pull harder, so a gauge change may call for a readjustment by a workshop.
- Tuning: lower tuning means less pull, higher means more. Relief changes with it.
- Humidity: below about 40 % relative humidity the neck tends to straighten, buzzing appears, and the top sinks, which lowers the action. Above about 60 % relief grows, the top swells and action rises. A usual target is 45 to 55 % at 22 to 25 degrees Celsius; 40 to 60 % is a wider tolerance range. See humidity and storage.
- Shipping and climate change: a guitar that was shipped or stored in a different climate needs a few days to acclimate before you judge its numbers. Never judge or adjust the neck straight out of the box.
Why it buzzes: causes, nut and intonation
Causes in order
- Too little or negative relief: buzz mostly in the lower and middle positions, on open and low strings.
- Saddle or nut slots too low: buzz on open strings or only near the first fret (nut), across the whole board (saddle).
- Uneven or high frets: buzz on individual frets or strings. Only a fret level by a workshop helps.
- Too much relief: shows up as high action in the middle and dead notes rather than classic buzz, and can cause intonation trouble.
- Loose parts: bridge pins, tuners, a lifting bridge, loose binding. Check these before blaming the neck.
A simple self-test: fret every note on every string from the 1st to the 12th fret and listen for buzzing or choking. It tells you whether one fret or the whole guitar is the issue.
The nut
With the string held at the 3rd fret, look at the gap above the 1st fret. A good gap is about 0.08 to 0.13 mm, roughly the thickness of a sheet of paper. Too large a gap means high action in first position and open chords that play slightly sharp. Slots cut too deep make open strings buzz. A gap that is too large can be improved by carefully deepening the slots with proper nut files. Slots that are too deep cannot be corrected afterwards, and the nut has to be replaced. Work in small steps here and measure often.
Checking intonation
Play the 12th-fret harmonic and the fretted 12th-fret note and compare both on a tuner. A sharp fretted note means the string is effectively too short, a flat one too long. Intonation is changed by saddle position and compensation, that is the shape of the contact surface. Small deviations can often be fixed by re-seating the saddle properly; a new compensation is usually a job for the workshop. Relief and action come first, since every height change shifts intonation slightly.
The order of a setup
A professional setup follows a fixed order: relief first, then action at the 12th fret via the saddle, then nut, then everything is checked again (two or three passes are normal), followed by intonation and a play test. Changing one thing shifts the others. Rule of thumb: 1 mm less at the saddle lowers action at the 12th fret by about half a millimeter. Saddle material that has been removed cannot be put back, so work carefully in several passes.
Setup problem or structural damage?
Diagnosis in five steps
- Measure the relief. If you can bring it into the usual range with the truss rod, it was a setup issue.
- Judge the action at the 12th fret. Too high but the saddle still has plenty of material: a routine setup fix.
- Check the saddle's room: a very low saddle with high action is one of the biggest caution signs on an acoustic. A common reset indicator is an action of more than about 3 mm on the low E at the 12th fret despite a saddle already at its minimum. If saddle and bridge are both at their limit, a reset is likely. A very short saddle or a shaved-down bridge shows that someone lowered the action in the past without resetting the neck.
- Check the neck angle with a straightedge: lay an 18 in (45 cm) straightedge along the fingerboard. If its end lands on top of the bridge or just above, the angle is good. If it dives below the bridge top, the angle is shallow.
- Inspect top and bridge: if the bridge lifts at the rear edge it needs regluing by a workshop. If the top bulges behind the bridge or sinks in front of it, the distortion should stay clearly below half the bridge height. For used purchases see also buying a used acoustic.
Sighting down the neck from the headstock is a good start: a slight bow is normal, a lot is not. If the neck visibly twists, with one side higher than the other, the truss rod will not fix it and a workshop is needed.
When is a neck reset needed?
Neck angle changes over the years through string pull and climate. Typical signs: saddle used up, action still high, bridge tilted forward, a failed straightedge test. A reset means releasing the neck from the body, setting the angle again and regluing; it is specialist work and often takes several weeks of shop time. On bolt-on necks (for example on Taylor models, with their adjustment system) the correction is much cheaper and part of the factory service.
How it differs from a warped top: in a neck angle problem the angle between neck and body has changed, which you see in the straightedge test and in a used-up saddle. In top distortion the top bulges behind the bridge or sinks in front of it. Both can occur together, and a technician can judge that.
What you can check yourself and what is for a workshop
- You can do: measure relief and nudge the truss rod in small steps (only if it moves easily), measure action and adjust it at the saddle in steps, check the nut, check intonation, restring, and keep the guitar in a stable climate.
- Workshop: new saddle compensation, making a new nut, fret leveling, regluing the bridge, neck reset, and anything where the rod binds or cracks.
- Material removed from saddle or nut cannot be put back. If unsure, let the workshop prepare a taller replacement part.
Costs and budget after buying used
Costs
Guideline figures (as of Oct. 2026); prices vary with the instrument.
| Job | Typical range (USD, as of Oct. 2026) |
|---|---|
| Acoustic setup | 60 to 200 |
| New saddle (bone) | 60 to 100 |
| New nut | 120 to 130 |
| Bridge reglue | 150 to 300 |
| Fret level | 50 to 300 |
| Neck reset | 350 to 1,000, often 450 to 700 |
The range for a neck reset is wide: figures run from about $350 to $1,000, with dovetail necks and some makes (Guild, Gibson) at the upper end. Get a concrete quote.
Budget after buying used
- New strings: almost always worthwhile; old strings sound dull and distort your judgment. Workshop restringing is usually a small fee.
- Setup: roughly $60 to $200 labor plus strings, especially after shipping or long storage.
- Nut or saddle: another $60 to $130 per part if height is not enough.
- Small parts and cleaning: bridge pins, tuners, fingerboard care.
- Buffer for surprises: a fret level (about $50 to $300) or a bridge reglue (about $150 to $300).
For a well-kept instrument, plan for one setup plus strings and a small buffer for a nut or saddle. Plan more if frets or bridge are involved, and far more for a reset. A guitar that needs a reset is only a bargain if the price more than covers that work.
Common mistakes and quick checklist
Common mistakes
- Big steps at the truss rod: more than a quarter turn at once, no waiting, force against resistance. Turn in small steps, wait in between and stop at resistance.
- Sanding the saddle too low: material cannot be put back, and too little break angle over the saddle costs tone and drive.
- Fixing action with the truss rod instead of the saddle: the rod changes relief, not saddle height; an over-flattened neck buzzes.
- Judging right after arrival or in dry air: values change with climate, so acclimate first.
- Separating strings from setup: choose the string type first, then set up. See string types and bridge and saddle.
- Treating a reset case as a setup: once the saddle is at its limit, more filing will not help.
Quick checklist
- Measure relief with capo and feeler gauge; roughly 0.2 to 0.3 mm is the usual window, truss rod only in eighth-turn steps.
- Measure action at the 12th fret; roughly 2.0 to 2.8 mm (low E) and 1.6 to 2.2 mm (high e) as an orientation, corrected at the saddle.
- Check nut and saddle, then intonation via the harmonic.
- Used-up saddle plus high action plus shallow neck angle: suspect a reset, ask a technician.
- Bridge lifting at the rear or a badly distorted top: workshop before it gets worse.